First observations
With this tutorial, we have a working example website that we will explore together. We’ll learn a few rules and look for patterns to get an understanding of what things do. And you can continue to use this website as a reference after the tutorial, along with RStudio’s instructions for R Markdown websites.
We’ll start our exploration online looking at the website architecture, then we’ll clone the repo to our local computers. Locally, we will explore further by going back and forth between the R Markdown editor and built webpages, and make modifications. Pushing to Github will make our modifications live!
Exploring online
The website itself
This website has 5 pages:
- Home
- First Observations
- Basic Workflow
- Getting Sophisticated
- Your Turn
github.io means that there is a Github repo behind this website, and we also know the username and repo name:
http://jules32.github.io/rmarkdown-website-tutorial <=> https://github.com/jules32/rmarkdown-website-tutorial
(Note: you can have github websites point to different urls if you don’t want the github.io.)
The website’s repo
Let’s go to https://github.com/jules32/rmarkdown-website-tutorial.
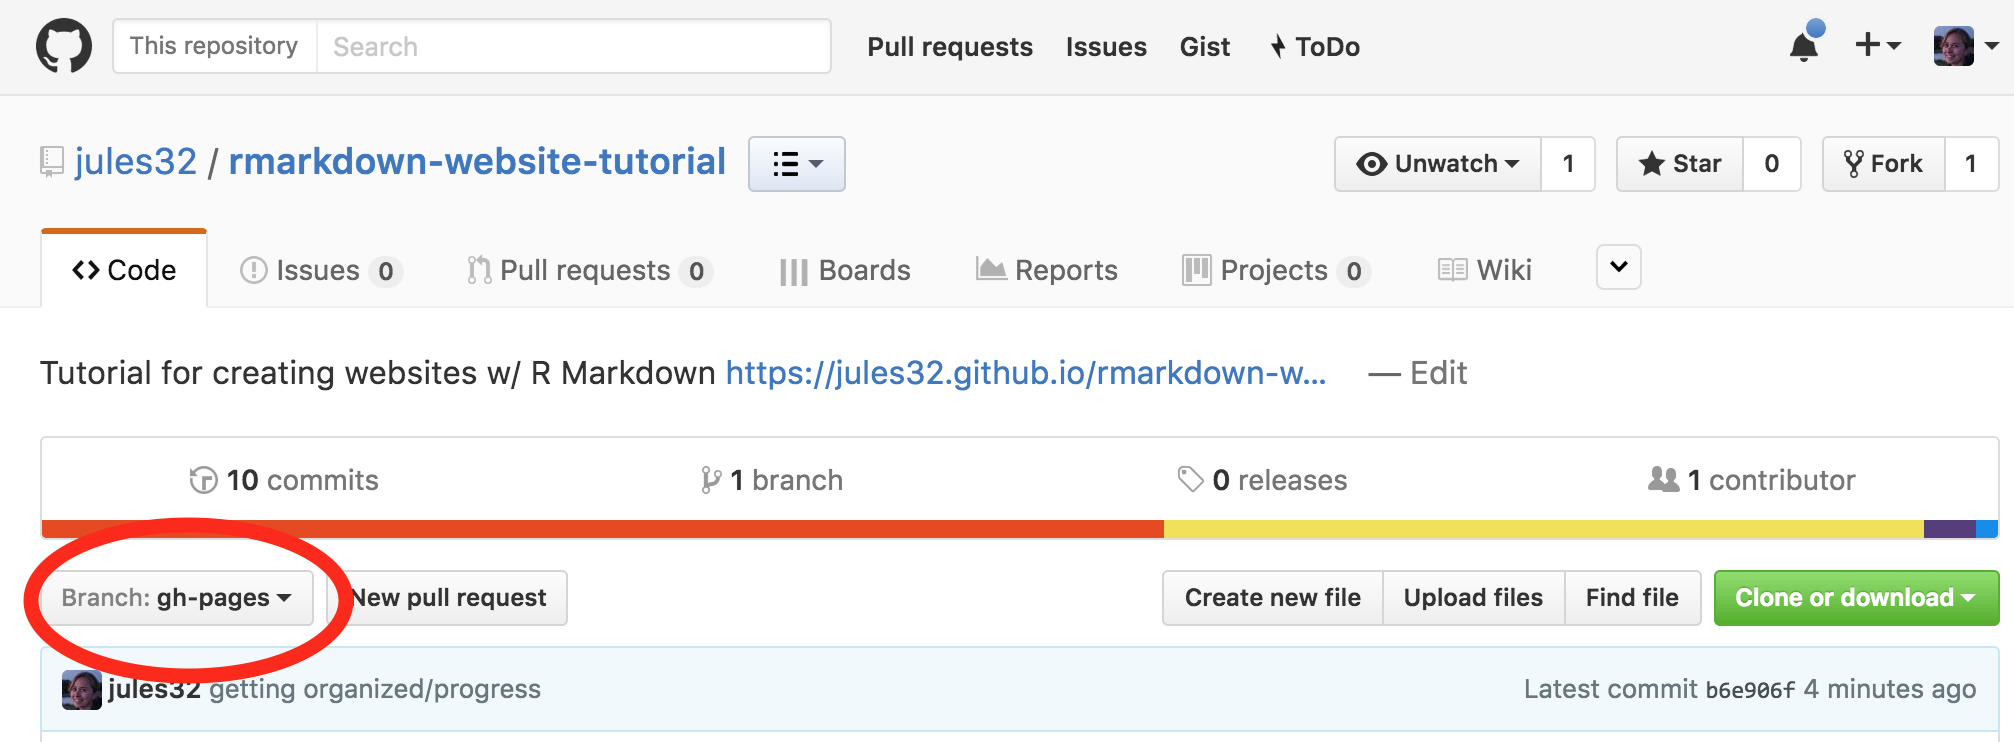
First, note the gh-pages branch - this is critical for building free webpages. You can usually name branches whatever you want, but the gh-pages name means it can be built as a website. I set it as my default branch.

Now let’s look at the filenames. We can recognize the names of the webpages we’ve seen, and there is also a _site.yml file, which is the website’s configuration file. The simplest website possible would have 2 files only: _site.yml and index.Rmd
Fork to your account, clone to your computer
Let’s start digging deeper and playing with this.
Fork the jules32/rmarkdown-website-tutorial repo into your own account.
Edit the URL for the website by replacing
jules32with your GitHub usernameClone to your local computer using RStudio (preferred) the Desktop App, or the command line.